Install Node.js is an open-source JavaScript runtime environment. It helps in creating scalable applications which can be hosted on Nodejs hosting. Node.js is accessible on Unix, Linux, macOS, and Windows. Windows is a popular operating system that many web developers use. For any developer, the installation process is a challenging part and therefore we have created this guide.
In this article, we will be explaining how to install Node.js on Windows. We believe beginners will get valuable insights on it.
Downloading and Installing Node.js on Windows
To set up Node.js on your Windows system, follow these steps to download and install the Node.js installer from the official Node.js website:
Downloading the Node.js ‘.msi’ installer.
Step 1: Download Node.js
- Visit the Node.js Website: Go to the (https://nodejs.org/en/download/
- Choose the Version: You will see two versions available for download:
- LTS (Long Term Support): Recommended for most users as it is the stable version.
- Current: Contains the latest features but may not be as stable as the LTS version.
Click the installer for Windows for the version you prefer and download the .msi file as per your system environment (32-bit & 64-bit)
Installing the .msi installer is essential before proceeding further into the installation process on Windows.

Running the Node.js installer
Once the .msi installer is installed, install the node.js installer on your PC with the following steps.
Double click on the .msi installer.
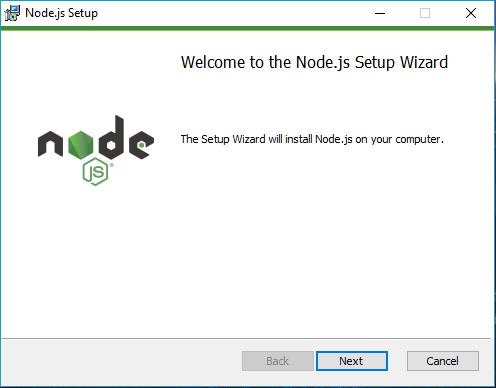
The Node.js Setup wizard will open on your system.
- In the Node.js Setup Wizard, click on “Next.”
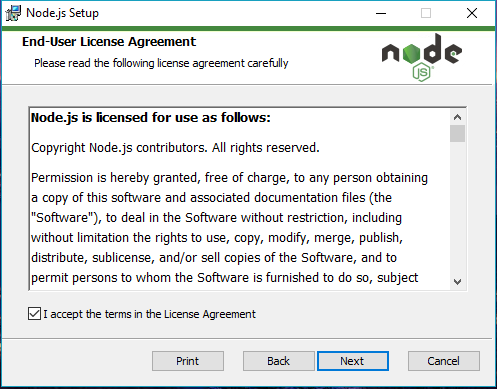
- You will be prompted to accept the End-User License Agreement (EULA) after clicking “Next”.
- Select the check box of “I accept the terms in the License Agreement” and Select “Next.”
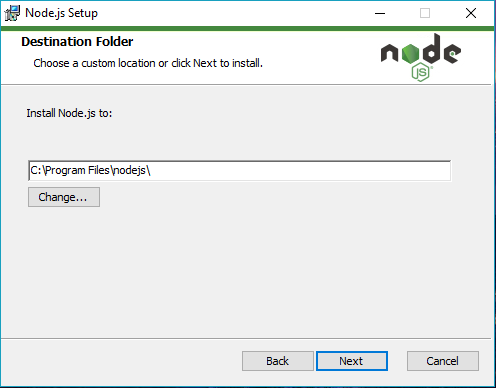
- Choose the right destination folder where all Node.js files will be installed. Click “Next.”
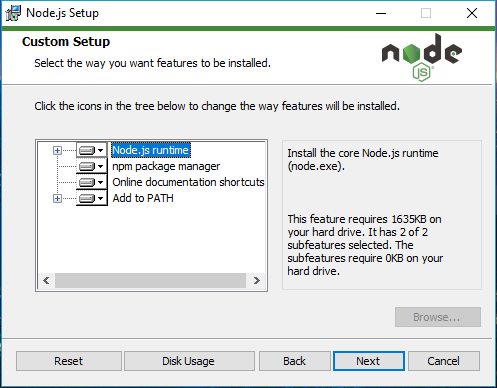
- Customize the setup and proceed further by clicking “Next.”
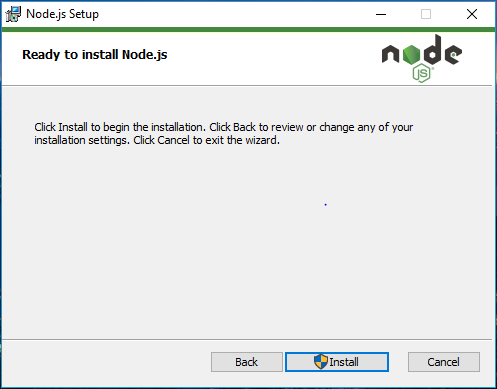
Now, you are ready to install Node.js on your PC.
- Installer will give the “install tools for native modules” prompt. Select “Install”
Don’t close the installer window while the installation process is going on.
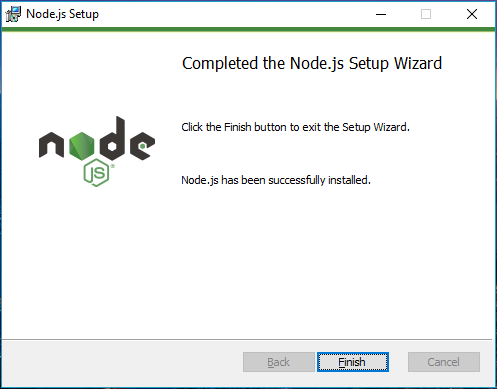
- Click on “Finish” once the Node.js setup is completed.
Verification
It is essential for website owners to check whether Node.js installation is successfully completed or not. For this, run the following command in command prompt or Windows PowerShell.
- Open Command Prompt: Press
Win + R, typecmd, and pressEnterto open the Command Prompt. - Check Node.js Version: Type the following command and press
Enter:
C:\Users\Admin> node –vIf it is successfully completed, then the command prompt will print the installed version of node.js.
Or else, you have to manually enter the node path if it was not found. An error message will occur if you didn’t receive it.
Adding to the path:
While installing through the .msi installer, the Windows installer will take care of the system variables for you.
Update npm (Optional)
To ensure you have the latest version of npm, you can update it using the following command: